Elderberry syrup is a powerful natural remedy known for its immune-boosting properties, making it a staple for cold and flu season. But how do you preserve it for long-term use? This Elderberry Syrup Canning Recipe will guide you through the process of safely canning elderberry syrup using a water bath method, ensuring it remains shelf-stable and ready whenever you need it. Learn the best way to store elderberry syrup, maintain its potency, and enjoy its health benefits year-round!
Why Can Elderberry Syrup?
- Extends Shelf Life – Proper canning ensures elderberry syrup remains fresh for up to a year.
- Convenience – Having shelf-stable elderberry syrup on hand saves time and effort during flu season.
- Cost-Effective – Homemade elderberry syrup is cheaper than store-bought versions and free from artificial additives.
Ingredients for Homemade Elderberry Syrup for Immune Support
Essential Ingredients:
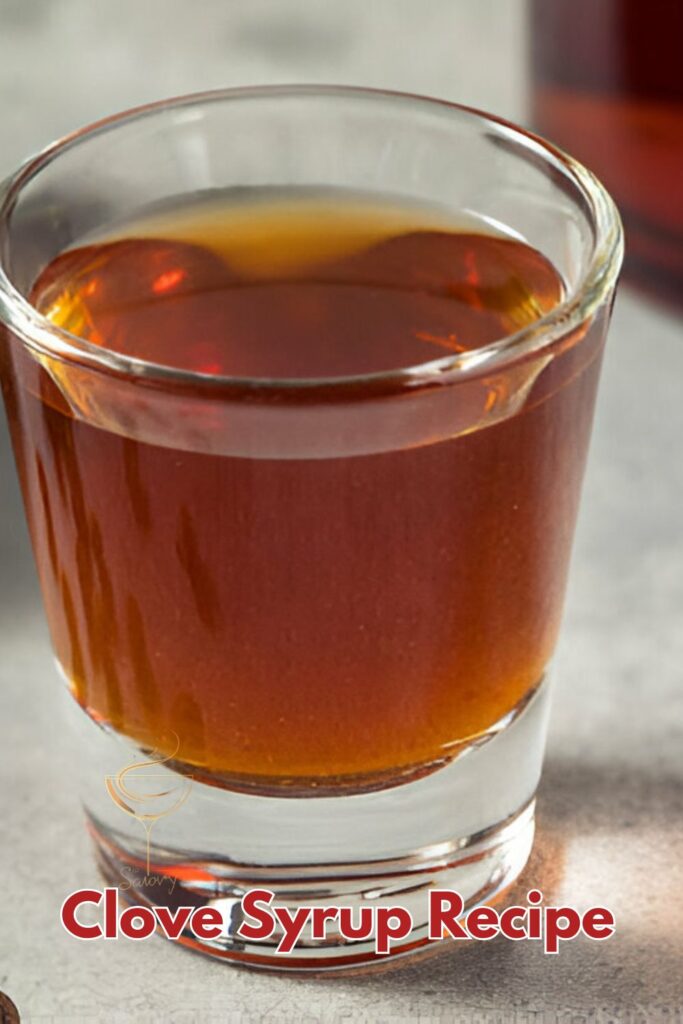
- 2 cups dried elderberries (or 4 cups fresh elderberries)
- 5 cups water
- 1 cinnamon stick
- 1 teaspoon cloves
- 1 tablespoon grated ginger
- 1 cup raw honey (or maple syrup for a vegan version)
- 1 teaspoon lemon juice (acts as a natural preservative)
Ingredient Breakdown:
- Elderberries: Packed with antioxidants and antiviral properties.
- Honey: Acts as a natural preservative and provides soothing benefits.
- Ginger, Cinnamon, and Cloves: Enhance the flavor while adding additional immune-boosting properties.
- Lemon Juice: Helps extend the shelf life and balances the syrup’s sweetness.
Step-by-Step Instructions to Can Elderberry Syrup
- Simmer the Ingredients – In a large saucepan, combine elderberries, water, cinnamon, cloves, and ginger. Bring to a boil, then reduce heat and let it simmer for 45 minutes.
- Strain the Mixture – Use a fine mesh strainer or cheesecloth to remove solids, pressing down to extract all the liquid.
- Sweeten the Syrup – Once cooled slightly, stir in honey and lemon juice.
- Prepare Canning Jars – Sterilize glass jars by boiling them in hot water for 10 minutes.
- Fill the Jars – Pour the elderberry syrup into sterilized jars, leaving 1/4-inch headspace.
- Process in a Water Bath – Place the jars in a boiling water bath for 10-15 minutes.
- Seal and Store – Remove jars, let them cool completely, and store in a cool, dark place.
How Long Does Canned Elderberry Syrup Last?
- Shelf-Stable: Up to 12 months when stored in a cool, dark pantry.
- Refrigerated: After opening, keep refrigerated and use within 3 months.
- Frozen Option: Can be frozen in small portions for longer storage.
Tips for the Best Results
- Use High-Quality Ingredients – Fresh, organic elderberries yield the best results.
- Adjust Sweetness – Increase or decrease honey based on your taste preference.
- Ensure Proper Sealing – If lids do not pop down, refrigerate and use within a few weeks.
Best Pairings & Serving Suggestions
- With Herbal Tea – Add a spoonful to warm tea for extra immune support.
- Over Yogurt – Drizzle over plain yogurt for a delicious health boost.
- As a Syrup for Pancakes – A natural, flavorful alternative to store-bought syrups.
Elderberry Syrup Canning Recipe
Ingredients
- 2 Cups Dried Elderberries Or 4 cups fresh elderberries
- 5 Cups Water
- 1 Stick Cinnamon
- 1 Tsp Cloves
- 1 Tbsp Grated Ginger
- 1 Cup Raw Honey Or maple syrup for a vegan version
- 1 Tsp Lemon Juice Acts as a natural preservative
Instructions
- Simmer ingredients
- Strain mixture
- Add sweeteners
- Sterilize jars
- Fill jars
- Process in water bath
- Store properly
Nutrition
Conclusion
This Elderberry Syrup Canning Recipe allows you to enjoy the immune-boosting benefits of elderberries year-round. By preserving your syrup properly, you can have a natural remedy ready at a moment’s notice. Try making your own batch today and let us know your favorite ways to enjoy it in the comments below!